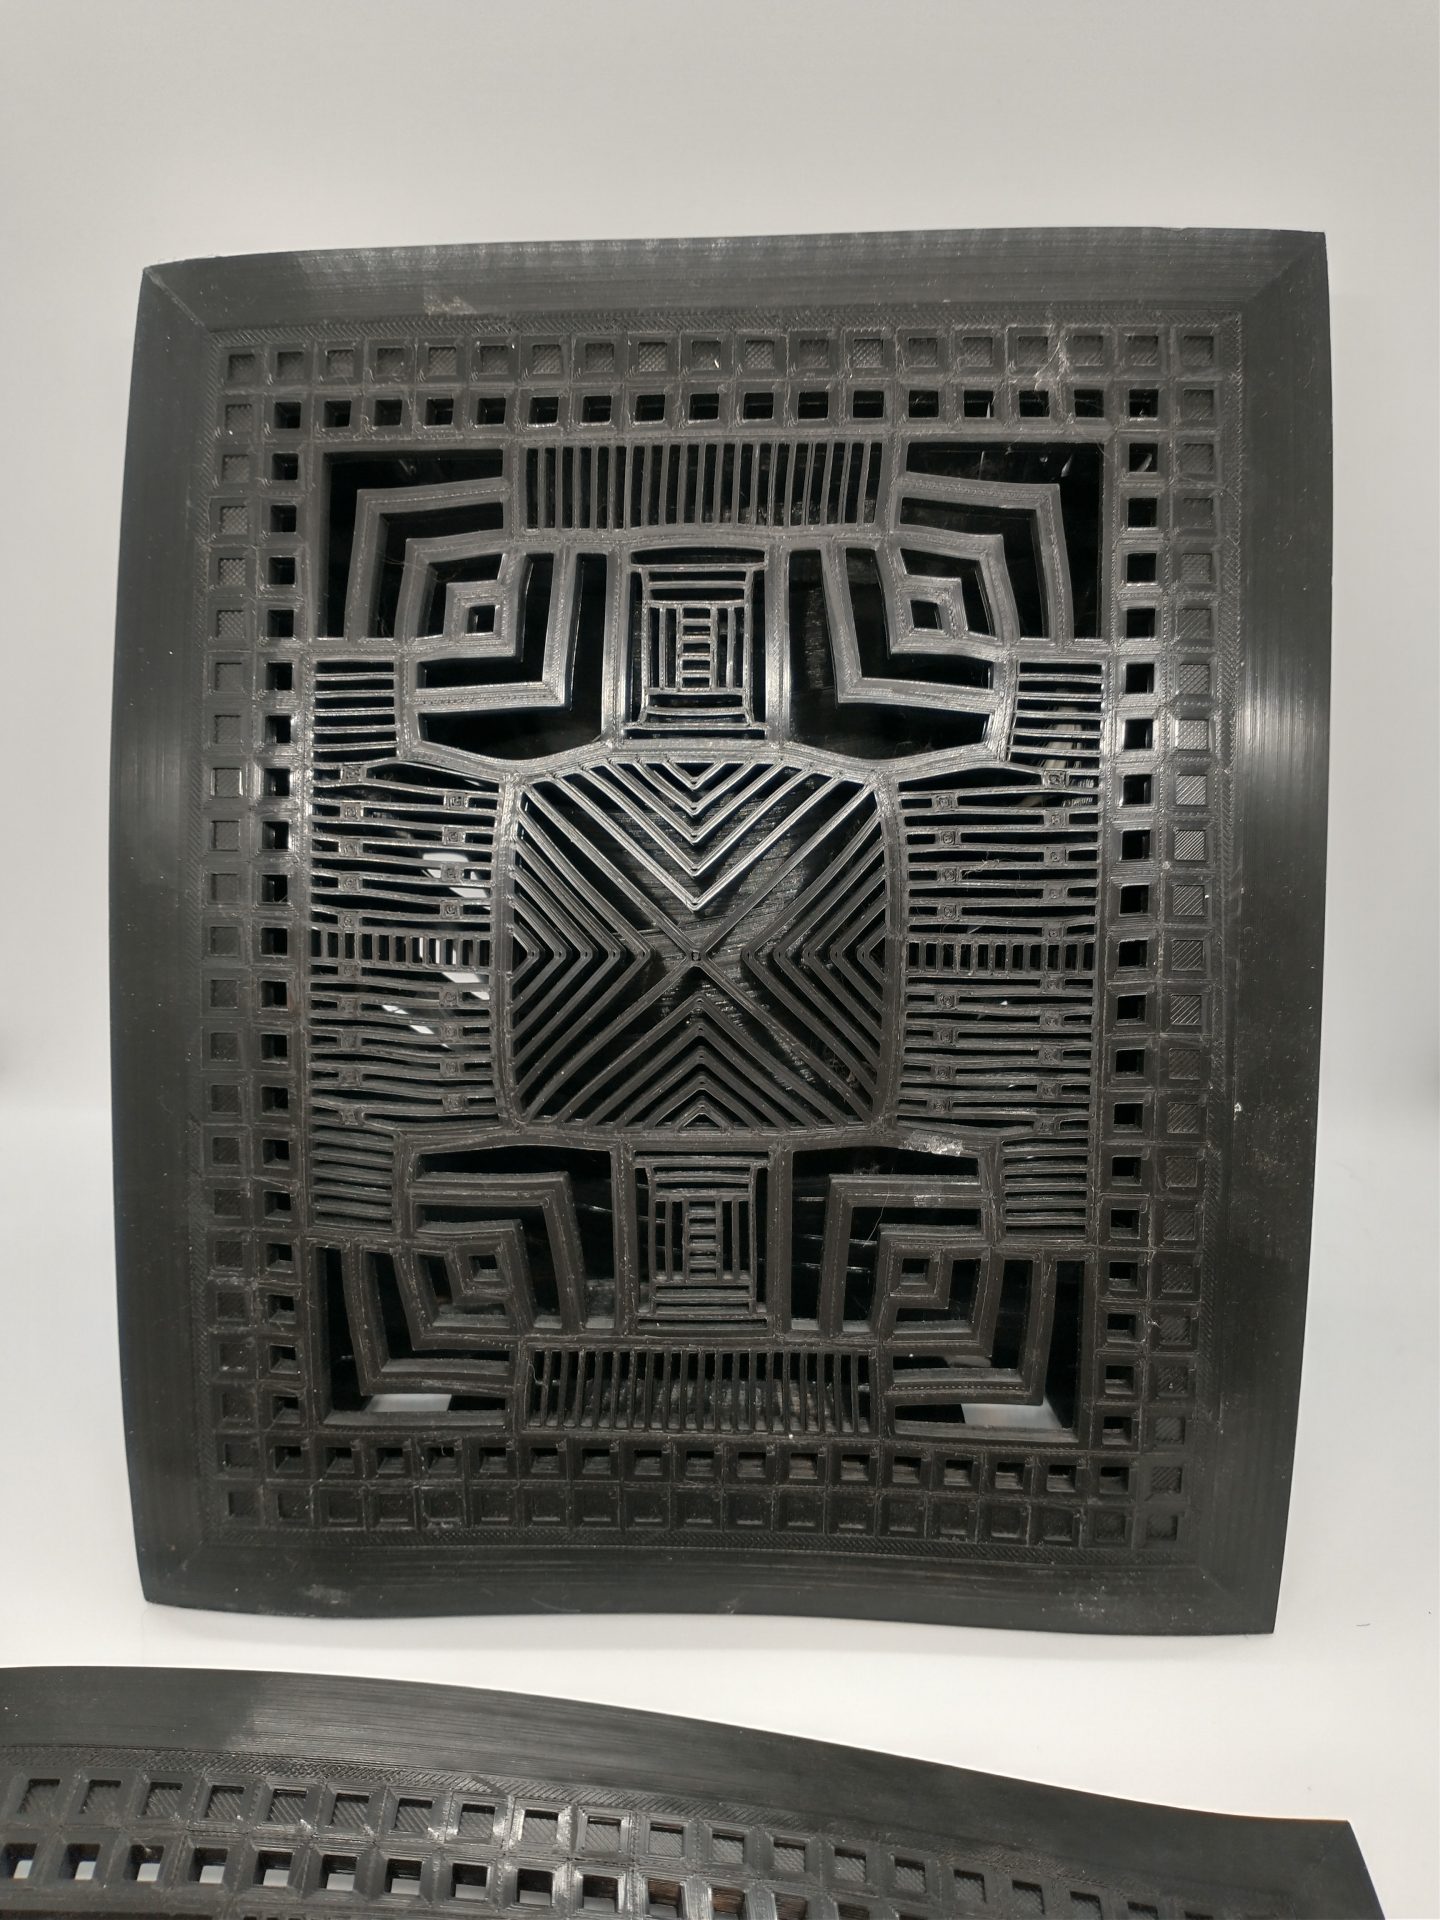
Salvatore Dali’s Grates
Finally, this project is starting to approach completion. A little hot glue to attach the faces to their boxes. We’re done and they look great!
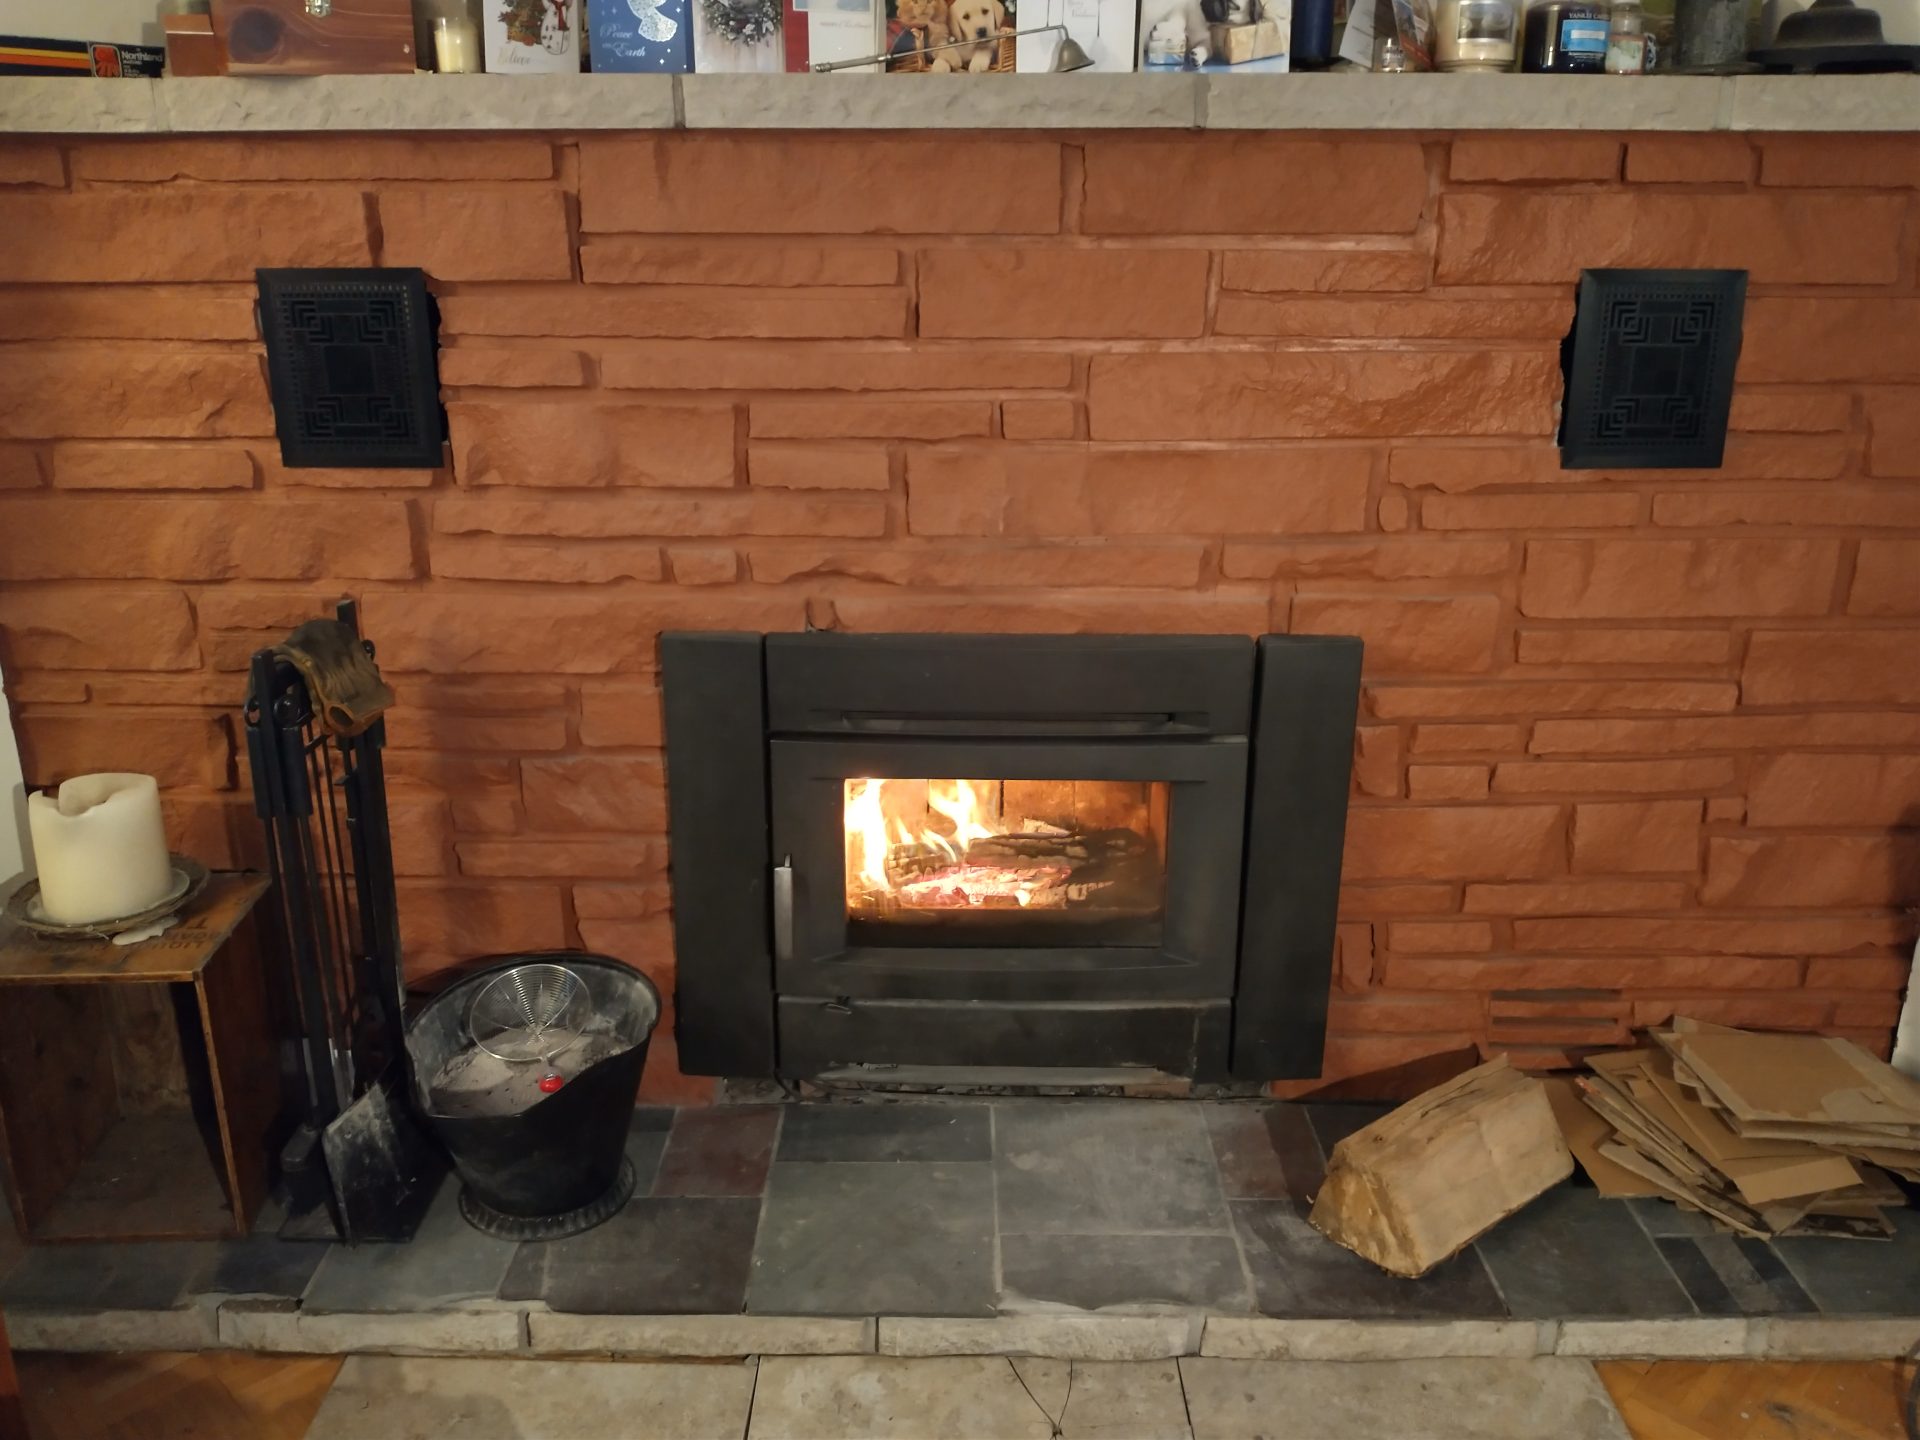
Not so fast. The grates were printed with PLA, a corn-derived plastic that’s industrially compostable. The printer lays it down at around 205C (400F) and the specs say it becomes plastic at 70C (158F). There’s no way the air coming out of those vents is anywhere close to 70C, so We’re all good, right? Wrong. Disaster awaits:
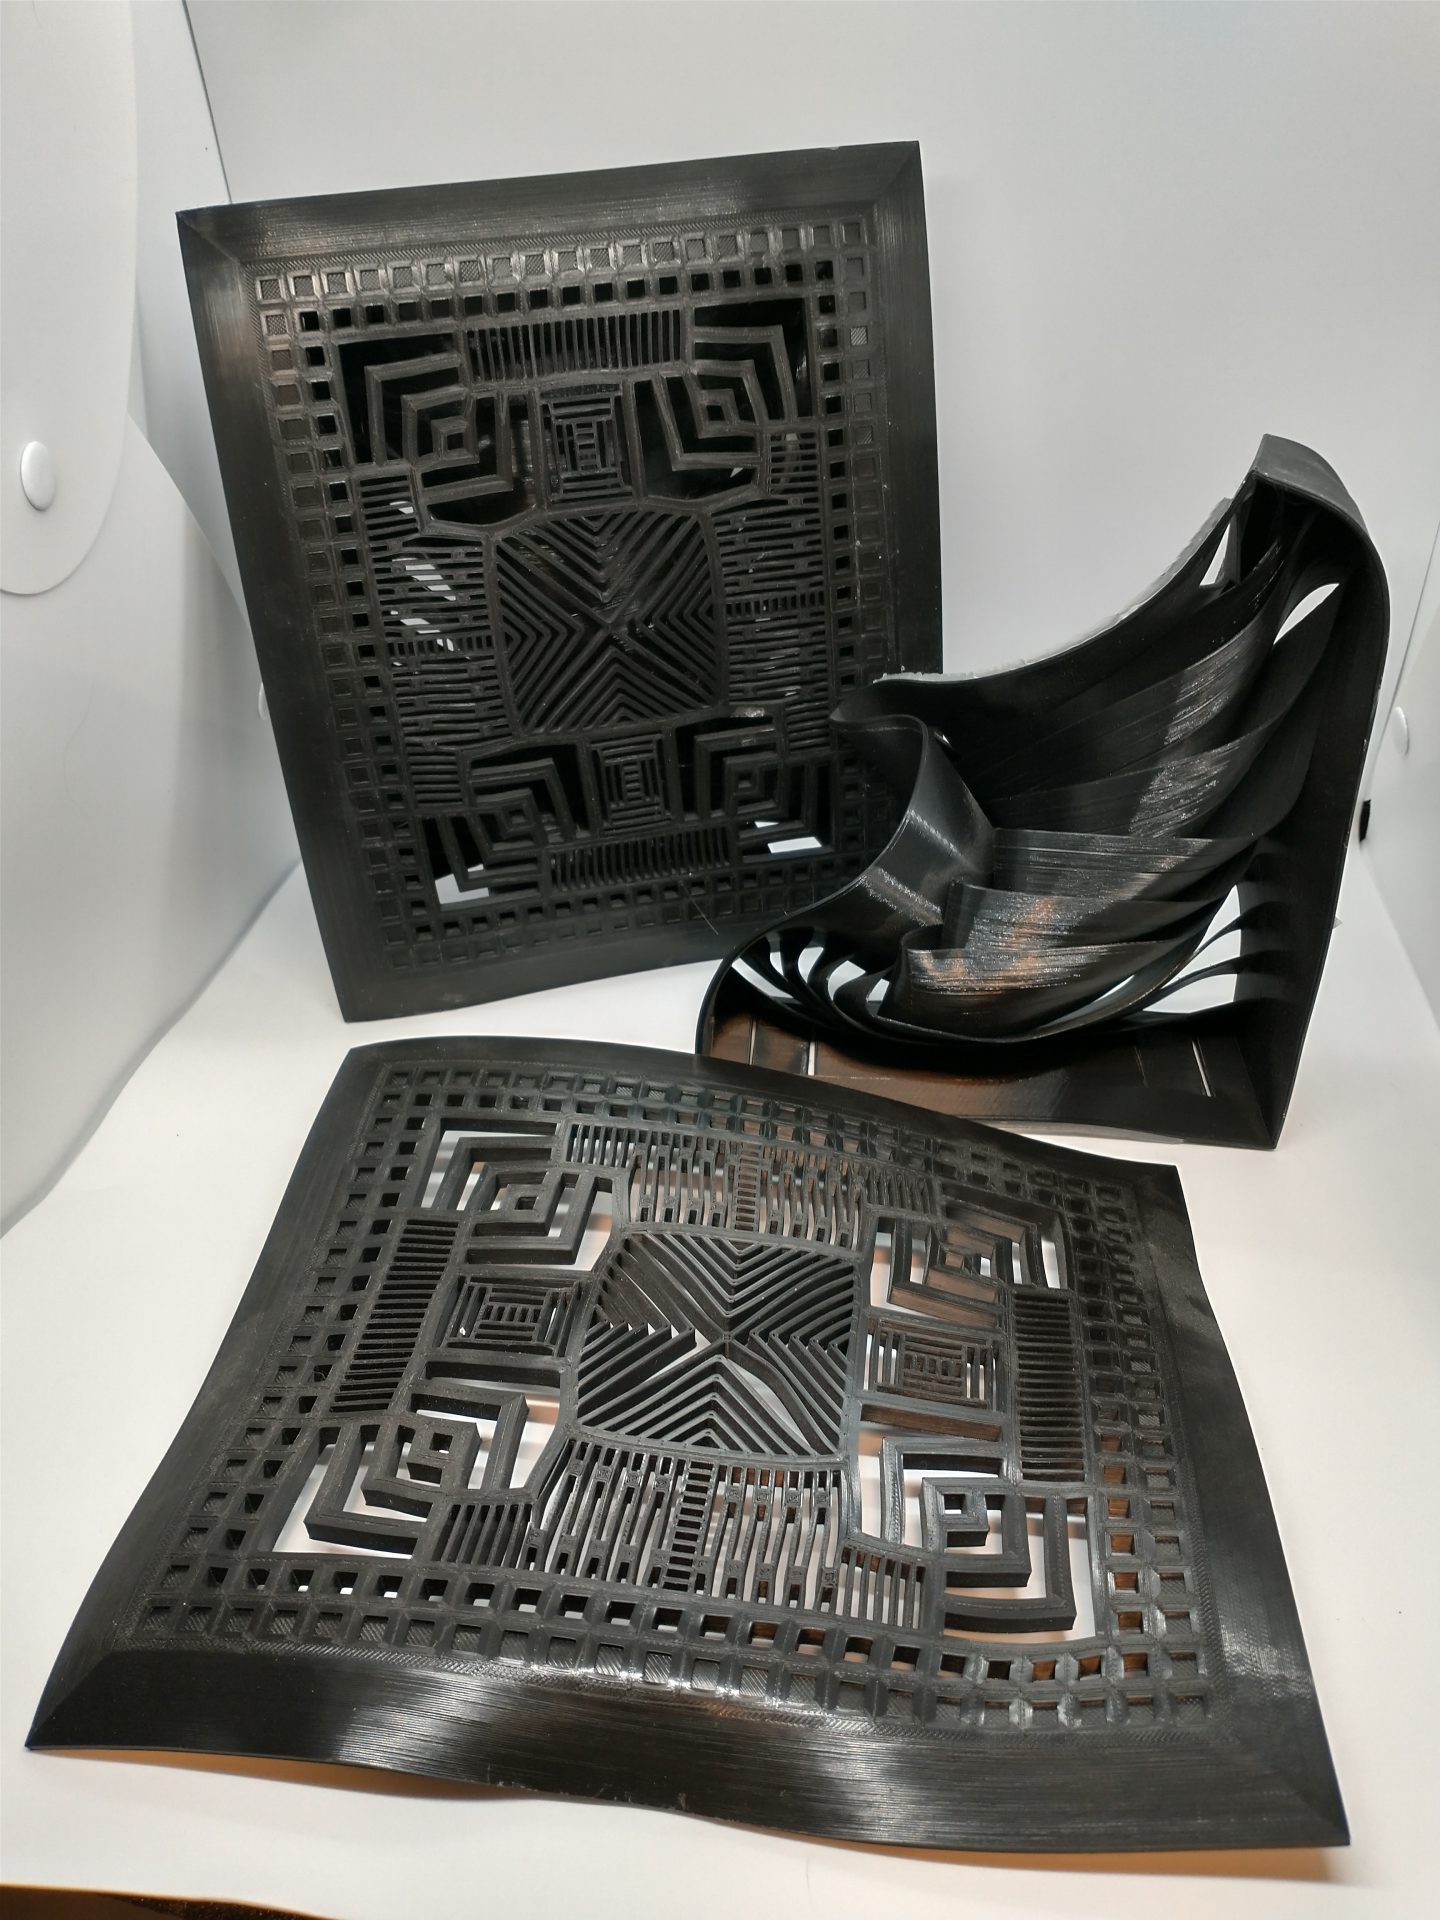

As it turns out, the actual plastic point for this PLA is a lot closer to 50C, and the air coming out of those vents peaks around 52C (125F)!
We’re not quite at back to the drawing board, but we’re certainly back to manufacturing. There’s another material, PETG that offers stability at the temperatures we’re seeing. All we need to do is reprint, re-assemble, and then we’ll be done, right?
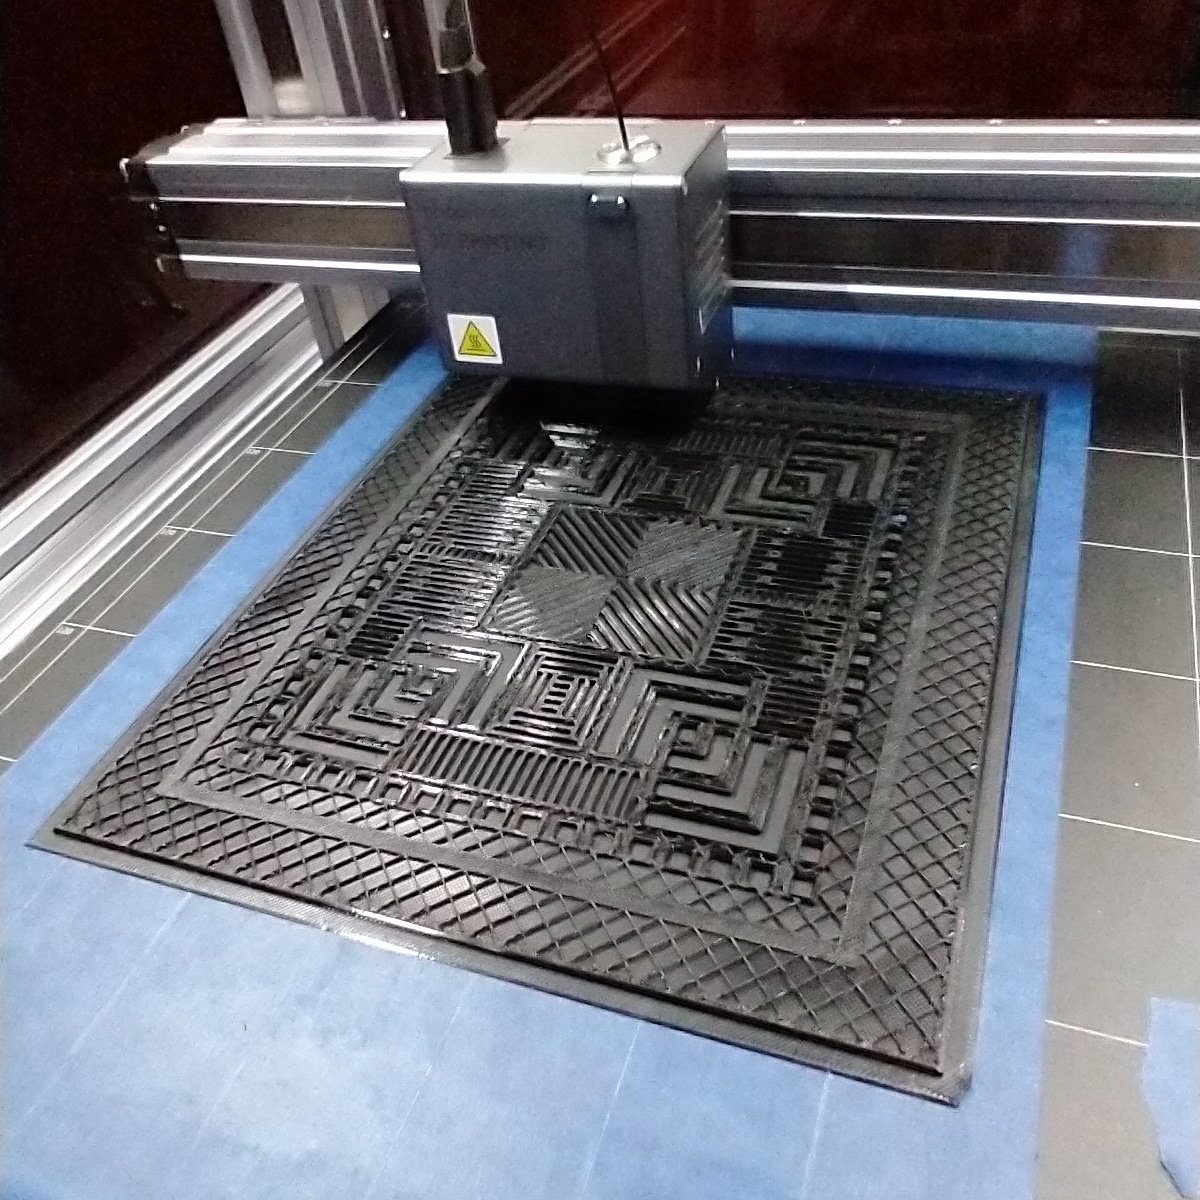
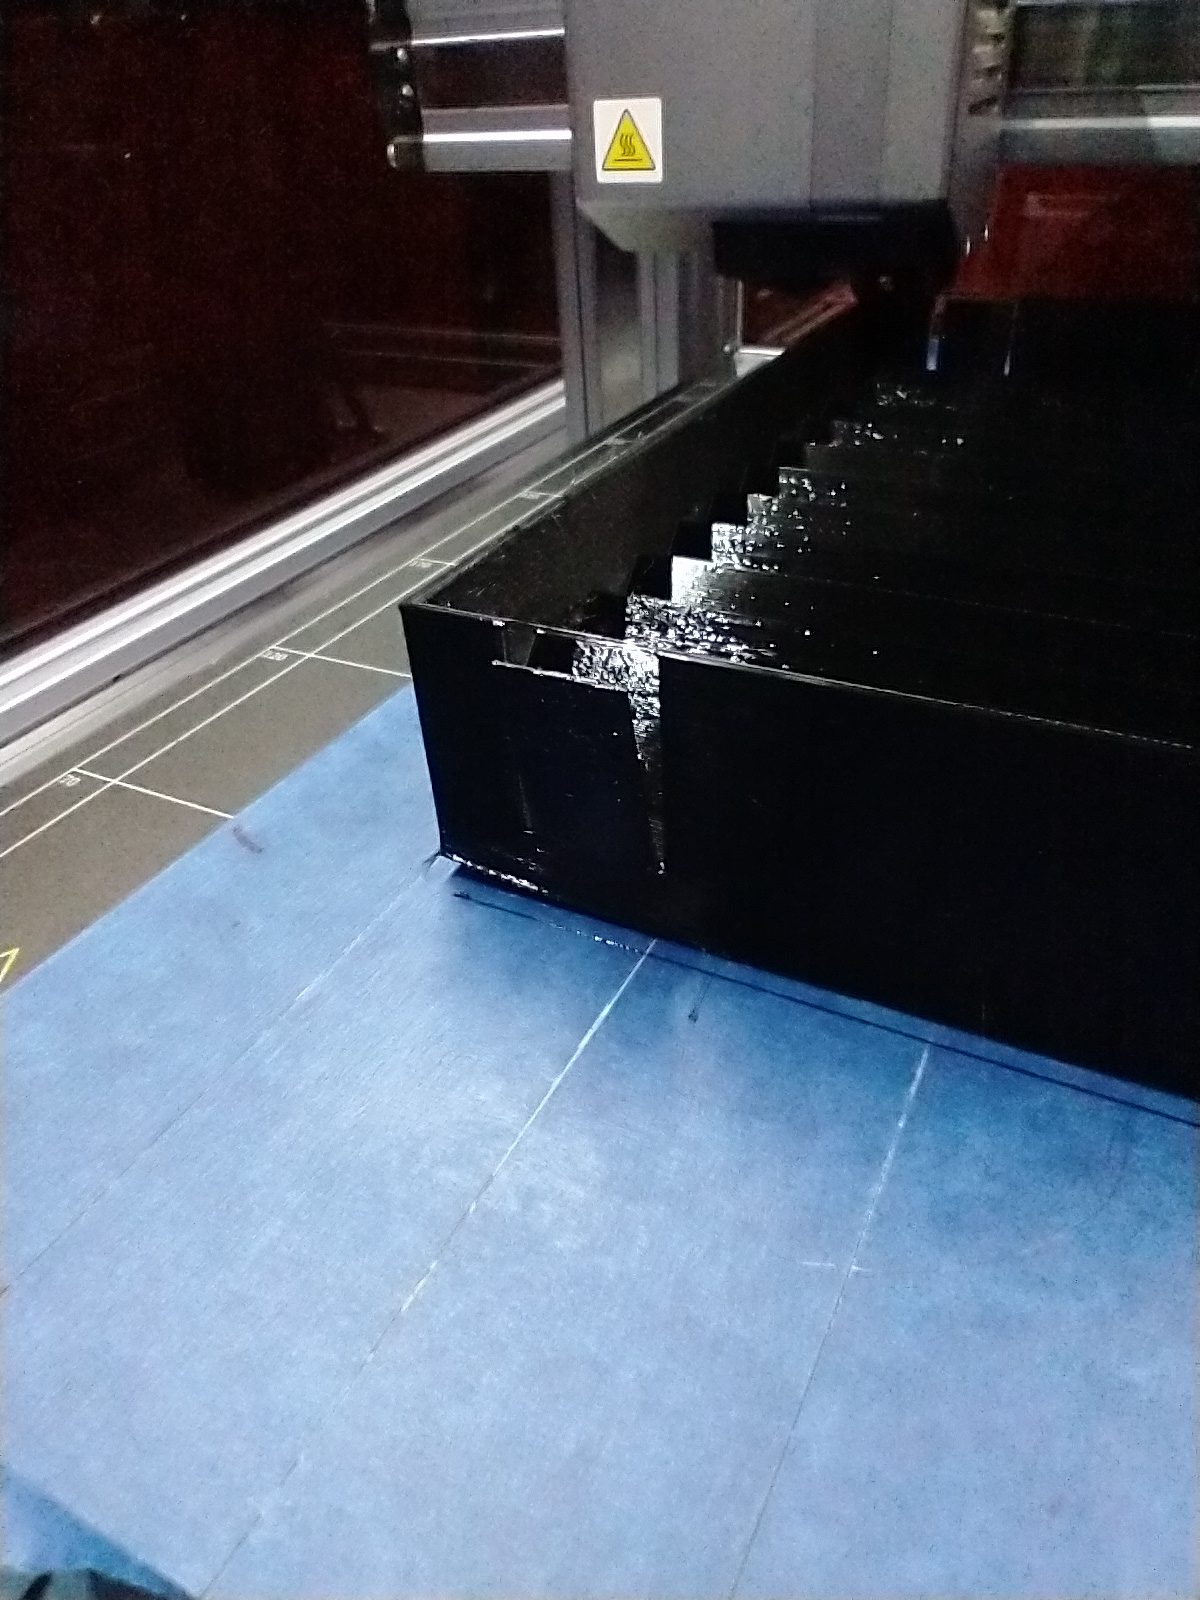
Not if Murphy’s Law has anything to do with it, and boy does it ever! Not about to be fooled again, I print some test pieces in PETG and stick them into the open vents to verify that the advertised material specs and reality conform to each other. The PETG passes the test. However it also comes with a host of bed adhesion and warping challenges. After weeks of iterations and much frustration, success is achieved through painter’s tape and glue on the bed, along with tweaking print and bed temperatures. Even then the only way to succeed is by printing the face plates on a solid layer with a skirt. There’s also issues with stringing, thin trails of filament that get left behind as the print head moves from one place to the other.
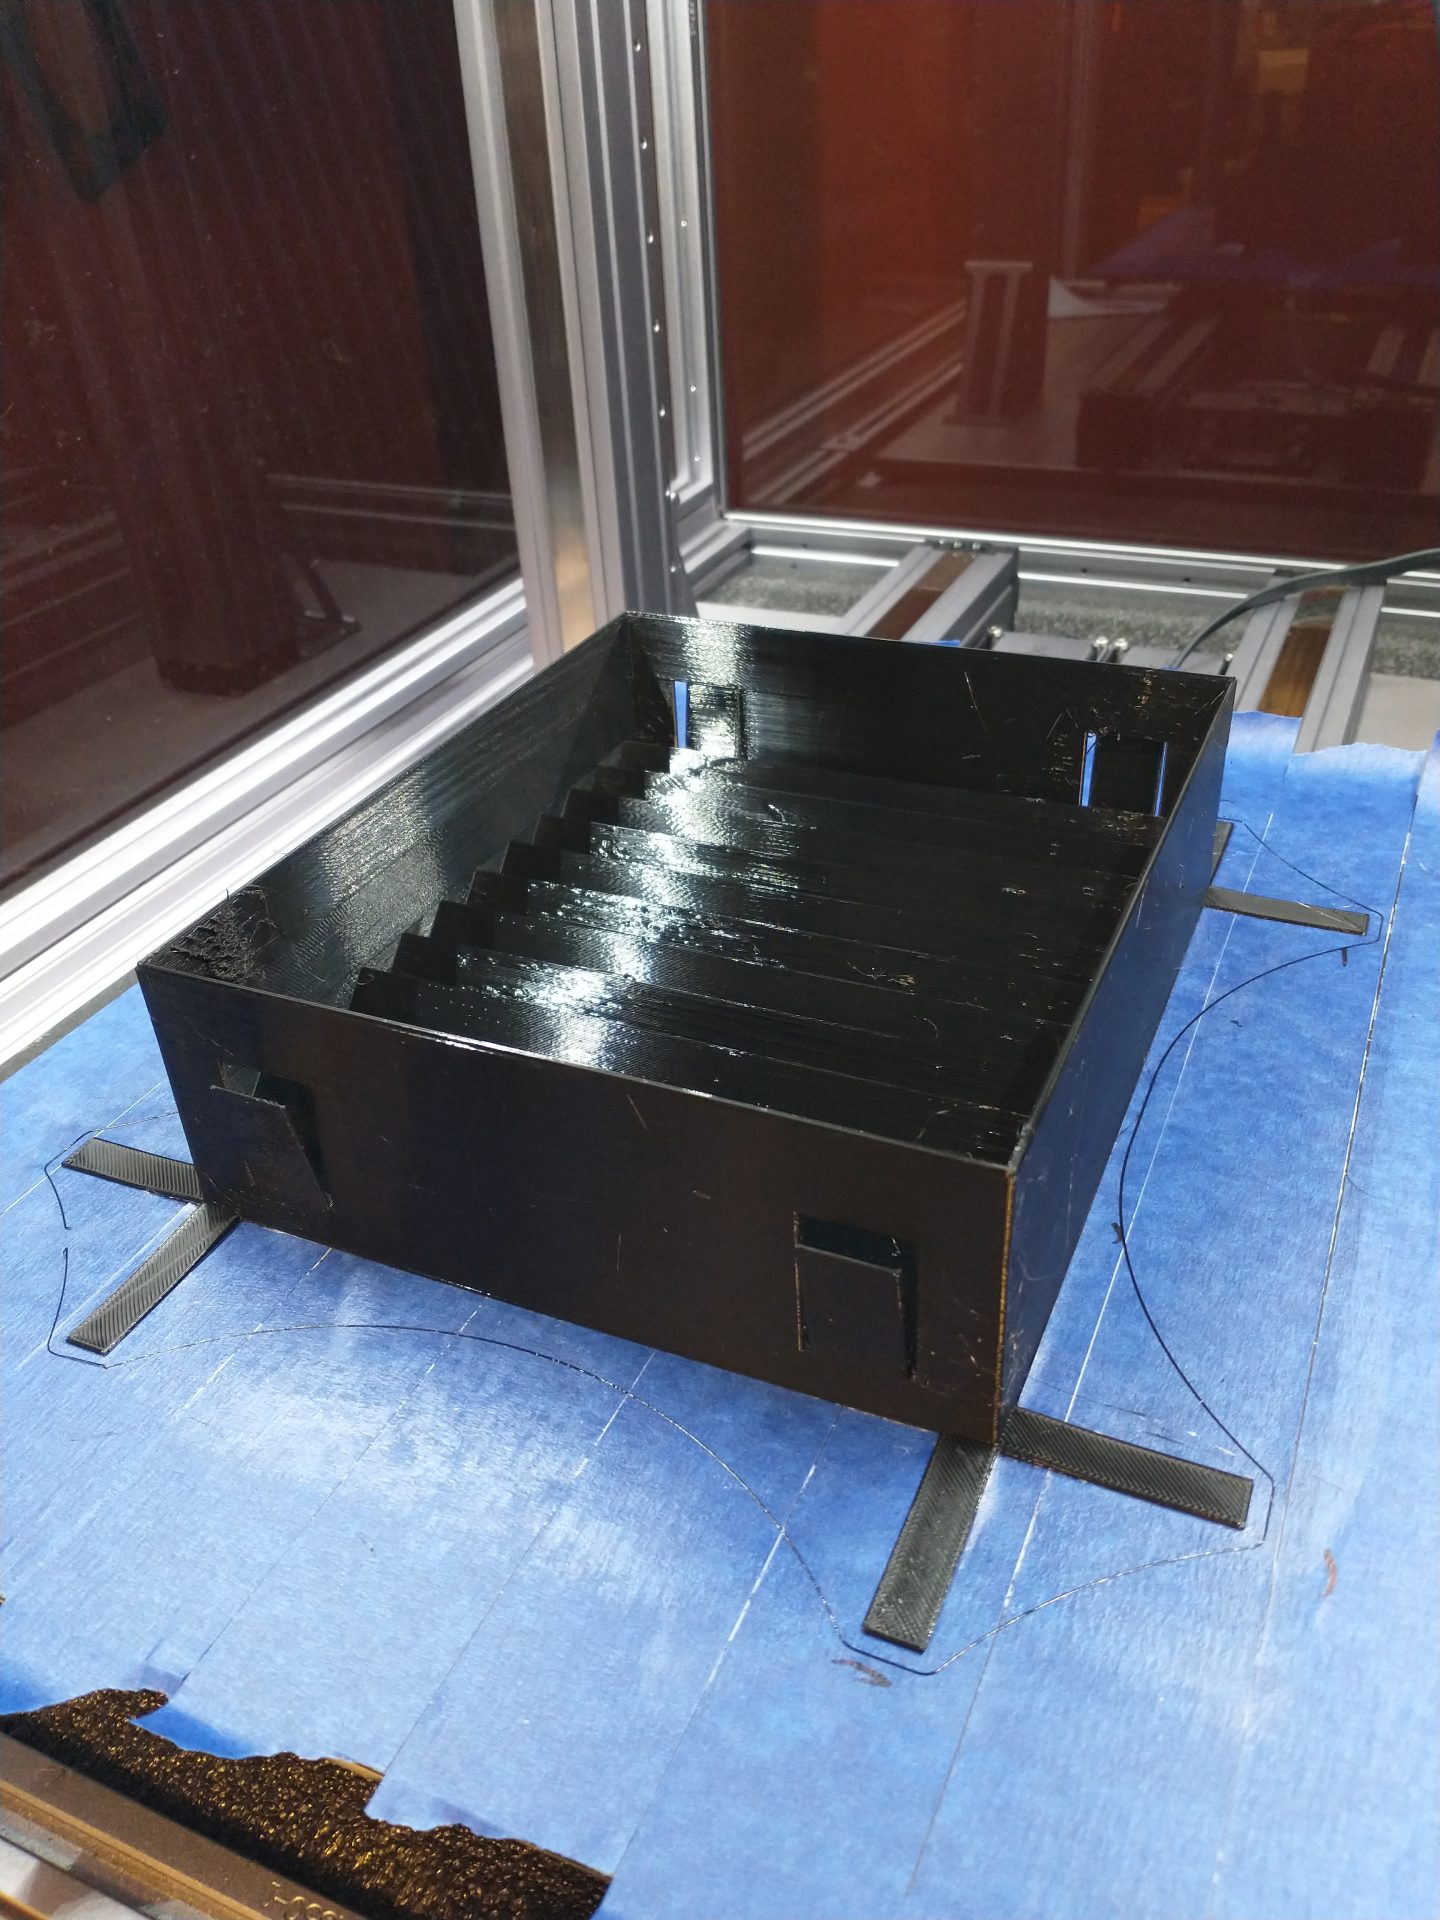
The problems are just as bad or worse with the boxes, which show significant warping and lifting from the bed. After a few false starts, I attach huge tabs to the corners in hopes of pinning them down. This isn’t 100% successful, but since the boxes are invisible, 95% is good enough.
This also means that there’s a lot of post-print work to be done. Every single opening in the faces needs to be carefully cut out with an art knife without damaging the front face, all 400+ of them. Then the stringing has to be removed with a jeweller’s file. This is painfully tedious.
Fantastic! I absolutely love love love Mission style.
Thanks, Rawle! Another “couple of weeks” project that took a couple of years, but was worth it.